Three Stage Event Teasers for Organizers That Drive Registrations

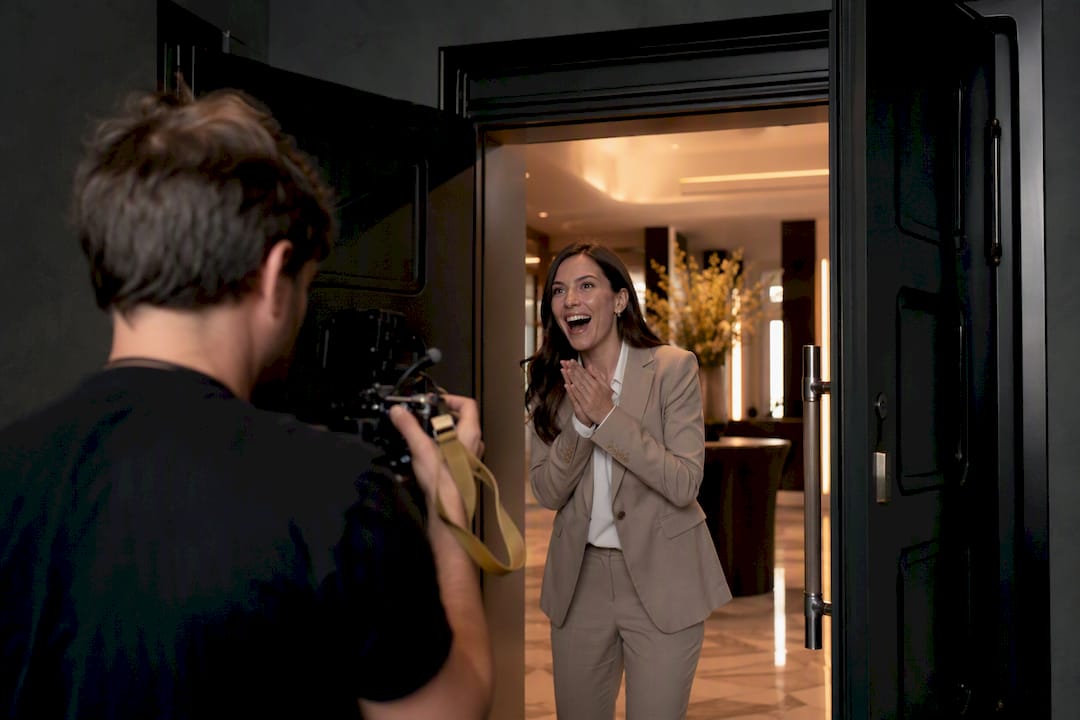
Make your event teaser short and engaging, aiming to capture attention quickly and close with a clear call to action such as “Register now” or “Save the date.” Pick your hook shot today and draft that opening line before you touch the timeline. If you’d rather hand this off, Tulipfilms builds these on a professional workflow for organizers who don’t have time to learn editing on the fly.
TL;DR:
A successful event teaser should start with a human face or fast motion to instantly capture attention within one second.
The focus must be on a single clear objective, such as registration or saving a date, with on-screen text and CTA aligned for quick comprehension.
Shooting vertical footage first simplifies cropping into various formats like reels or stories, saving time and reshoots later.
Keep teaser length between 15 and 30 seconds, front-loading the hook and introducing the CTA before the 20-second mark for maximum engagement.
For complex events or multiple sessions, hiring a professional crew ensures high-quality coverage, while low-stakes events can be produced DIY with minimal equipment.
Table of Contents
What Is an Event Teaser, and How Is It Different From a Trailer?
First Frame and Visuals: How to Stop the Scroll in 1 to 3 Seconds
Pre-Production: Storyboard, Shot List, and Must-Capture Moments
Production Day Checklist: Audio, Lighting, and Camera Redundancy
Distribution and Sequencing: Running a Teaser Campaign, Not Posting One Video
Repurposing and Measurement: What to Track and What to Reuse
What Is an Event Teaser, and How Is It Different From a Trailer?
An event teaser exists to create curiosity and push one measurable action: a registration, a livestream view, or a saved date. A trailer, by contrast, previews the actual content of an event (speakers, sessions, entertainment) and runs longer because its job is to inform, not just hook.
Think of it this way:
Teaser (15 to 30 seconds): partial reveal, built to make someone stop scrolling and click a link before they know everything.
Trailer (60 to 90 seconds): fuller preview, used closer to the event once curiosity has already been earned.
Highlight reel (30 to 90 seconds): posted after the event, built from real footage to prove it delivered.
Teasers work because they create what marketing researchers call a knowledge gap. You show enough to spark interest and withhold enough that the only way to close that gap is to click. That mechanic is why a good 20-second teaser often outperforms a polished 90-second trailer on click-through, even though it says far less. Within a campaign, the teaser is the opening move, not the whole pitch, which is exactly why it needs to stay short and slightly incomplete.
A Quick Checklist: Essential Elements Every Teaser Needs
Before you approve a cut, run it against this list. If any of these five items is missing, the video isn’t ready to publish, no matter how good the footage looks.
A hook in the first frame. A face, a fast motion, or a striking visual detail, not a logo or a slow fade-in.
One clear objective. Register, save the date, or watch the livestream. Never all three.
Readable on-screen text. Large font, high contrast, legible at thumbnail size on a phone.
Burned-in captions. Most people watch with sound off during the first few seconds.
A single, visible CTA. Placed on screen for at least two seconds, not just spoken once.
Beyond the checklist, prioritize shots that show people, not empty rooms, and place your logo or sponsor mark in a corner rather than dead center where it competes with the action. On the technical side, aim for clean audio (even a phone with a clip-on mic beats a built-in mic across a room), even lighting on any face you feature, and an export that matches your platform’s native resolution.
Pro Tip: Shoot your hook footage vertically first. It’s far easier to crop a vertical clip for a horizontal frame than to stretch horizontal footage into a usable vertical crop later.
Script and Micro-Copy: What to Say in 5 to 15 Words
Every line of on-screen text or spoken copy in a teaser should fit one of three patterns:
Intrigue: “You won’t want to miss what’s happening on stage.” Withholds the payoff, names the setting.
Benefit: “Three days. One stage. Every answer you need.” States the value in plain terms.
Authority: “500+ leaders. One weekend. Are you in?” Uses scale or credibility as the hook.
Your CTA line matters more than any other five words in the video. Keep it in the imperative, present tense, and second person: “Save your spot,” not “Spots are being reserved.” Place it on screen in the final two to three seconds, and repeat it once earlier if the teaser runs longer than 20 seconds.
Second person and present tense outperform third-person, past-tense copy on social because they collapse the distance between the viewer and the action. “Join us this fall” reads like an announcement. “You’re invited” reads like a message meant for the person watching. That small shift in phrasing is often the difference between a teaser that gets liked and one that gets clicked.
One caution: if the event is paid, don’t over-mystify. Research on unfinished teasers found that withholding too much information can backfire once money is involved, because viewers feel manipulated rather than intrigued. Free events tolerate more mystery. Ticketed ones need at least one concrete fact, like the date or a named headliner.
First Frame and Visuals: How to Stop the Scroll in 1 to 3 Seconds
The first frame is doing more work than any other second of footage in the video. If it doesn’t stop a thumb mid-scroll, nothing after it gets watched.
Three types of opening shots consistently outperform static or scenic ones:
A human face reacting. Laughter, surprise, or focus reads instantly, even muted.
Fast motion. A hand clapping, a curtain pulling back, a crowd surging forward.
A high-contrast detail. A single spotlighted object against a dark stage, a bright banner against a gray backdrop.
Whatever you choose, make sure any text overlay sits on a contrasting background, white text on a dark clip or dark text on a bright one, because thin gray text over busy footage disappears on a phone screen in daylight.
For a fast, reliable hero shot, set up a tripod near the entrance or stage-left during load-in and grab five seconds of a genuine reaction shot before doors open. That single clip often becomes the opening frame for the entire campaign, and it costs you nothing extra to capture. If you’re planning coverage for a corporate conference or trade show, a structured event video plan makes it far easier to schedule that shot without disrupting setup.
Length, Ratios, and Platform-Ready Cuts
Fifteen to thirty seconds is the sweet spot for a social teaser. Shorter bumper versions, six to fifteen seconds, work well as pre-roll or story ads where attention is even scarcer.
That range isn’t arbitrary. Sprout Social’s research on short-form video found viewers typically watch around 16 seconds of any video under a minute before deciding whether to keep going. If your CTA lands after second 20, a meaningful share of your audience has already left before seeing it. Front-load the hook, and don’t wait past the midpoint to introduce your ask.
Build one master cut at the highest resolution you’ll need, then derive the rest instead of reshooting or re-editing from scratch:
9:16 vertical for Instagram Stories, TikTok, and Reels.
1:1 square for feed posts, which still perform well on Facebook and LinkedIn.
16:9 horizontal for YouTube pre-roll, event websites, and email embeds.
Frame your hero shots with enough headroom and margin that a 16:9 clip crops cleanly into 9:16 without losing the subject’s face or the on-screen text. This single habit, shooting wide enough to crop, saves hours of reshoots later. A practical short-form workflow guide covers this master-then-derive approach in more depth if you’re setting up a repeatable process for future events.
Pre-Production: Storyboard, Shot List, and Must-Capture Moments
A one-page storyboard, even five rough boxes sketched by hand, keeps a shoot from becoming a scramble. Map out the opening hook, two supporting beats, and the closing CTA frame before anyone picks up a camera.
Pair that storyboard with a tiered shot list so your crew knows what’s non-negotiable versus what’s a bonus if time allows:
Tier 1 (must capture): the hero hook shot, any headline speaker or performer, the venue’s signature visual, crowd reaction shots.
Tier 2 (capture if time permits): behind-the-scenes setup, sponsor signage, candid attendee interactions, wide establishing shots.
According to StudioBinder’s breakdown of event videography, planning coverage in advance and assigning camera positions ahead of time is what separates usable footage from a pile of clips nobody can build a teaser from.
Rehearsals and setup are the most underrated source of usable teaser footage. A performer testing their mic, a team hanging a banner, a room filling with early light before doors open, these moments are calm, well-lit, and repeatable if the first take doesn’t land, unlike anything captured during the live event itself. Schedule ten minutes during setup specifically to shoot this b-roll.
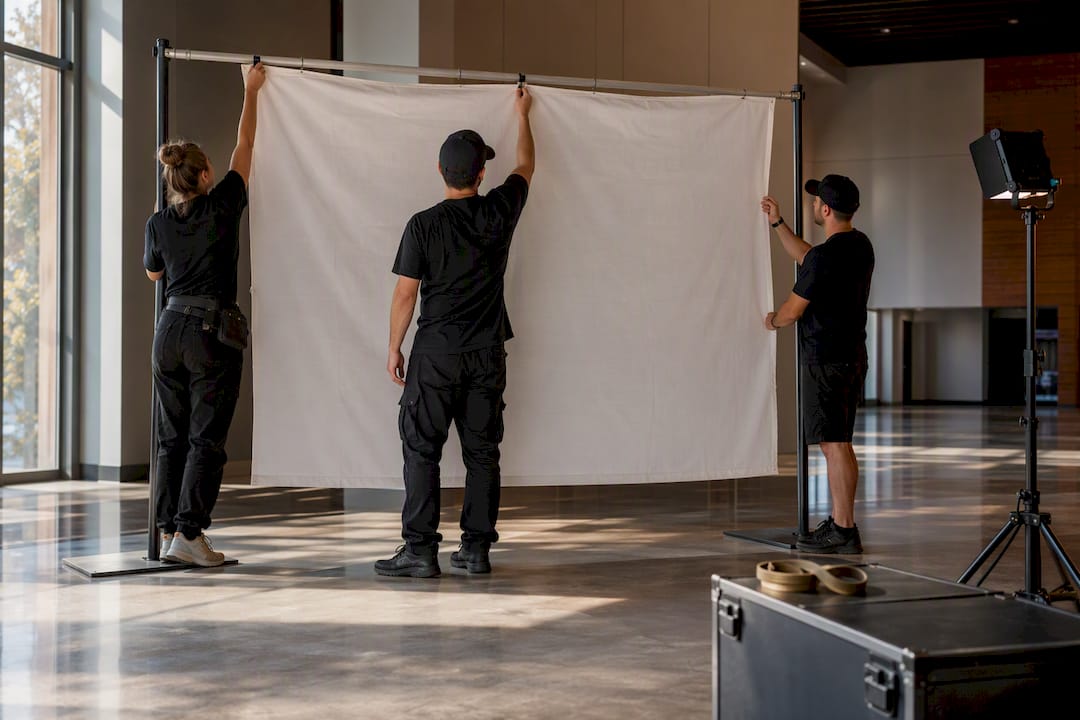
Before the event, assign one person to own the run-of-show document, confirm who’s shooting which position, and make sure everyone knows which moments are Tier 1 so nobody’s chasing the wrong shot when the schedule slips, which it usually does.
Production Day Checklist: Audio, Lighting, and Camera Redundancy
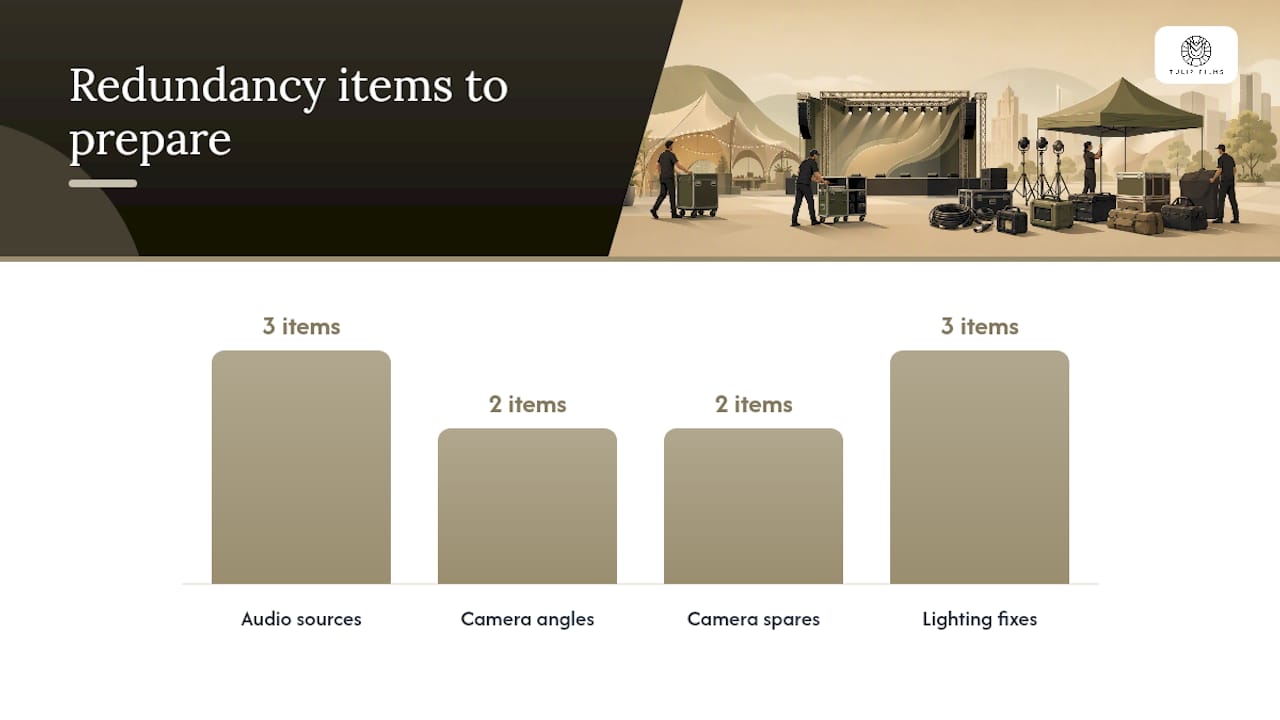
Bad audio kills more event videos than bad footage ever does. Run at least two independent audio sources: a lavalier mic on your key speaker, a feed pulled directly from the venue’s sound board, and a backup recorder running on a separate device. If one fails, you still have usable sound.
Lighting problems are usually fixable in ten minutes if you catch them before the event starts:
Stage lighting too harsh: diffuse with a bounce card or shoot from an angle that avoids direct hot spots.
Mixed light sources (daylight plus stage lighting): white balance to the dominant source and accept some color variance rather than chasing a perfect match.
Dim breakout rooms: bring a small LED panel; even one cheap light rescues a face from looking like a silhouette.
For camera setup, run at least two angles on anything you consider Tier 1 footage, and pack a stabilizer or gimbal for any walking or handheld shots you plan to use in the teaser’s opening seconds, since shaky hooks lose viewers instantly. Carry spare batteries and a second memory card as a baseline, not an afterthought.
Pro Tip: Label your backup recorder’s files with the event name and time block before you start rolling. Sorting through unlabeled audio at 11 p.m. the night before your teaser is due is a mistake you only make once.
Editing and Pacing: Keep the Curiosity Moving
Short shots, held for one to two seconds each, keep a teaser feeling urgent instead of sluggish. Cut on the beat of your music track wherever possible; a hard cut that lands exactly on a bass hit reads as intentional even to viewers who couldn’t tell you why it works.
Choose music with a clear rhythmic pulse in the first five seconds, and duck the track under any spoken lines or key sound bites so words stay intelligible. A teaser that buries a speaker’s one good line under a loud track has wasted its best asset.
For your closing frame:
Hold the CTA text on screen for at least two full seconds, longer than feels natural in the edit.
Repeat the date and a link or handle, since viewers rarely remember details from a video they watched once.
Export separate files per platform rather than uploading one file everywhere; native resolution and aspect ratio both affect how the algorithm treats the post.
Keep a few incomplete but tantalizing beats in the cut rather than resolving everything. That’s the knowledge gap doing its job, and it’s the same mechanic that keeps a viewer scrolling into your next teaser instead of forgetting the event entirely.
Distribution and Sequencing: Running a Teaser Campaign, Not Posting One Video
Treat your teasers as a sequence, not a single asset. A three-stage cadence works for most events:
Hero teaser (four to six weeks out): the longest, most polished cut, establishing the event and its main hook.
Mid-campaign cuts (two to three weeks out): shorter, speaker- or feature-specific versions built from the same footage.
Final countdown (three to five days out): urgent, short, almost entirely CTA, “Doors open Friday, register now.”
Push your hero teaser through both organic posts and paid promotion, since it carries the highest production value and deserves the widest reach. Save the mid-campaign cuts mostly for organic and retargeting audiences who’ve already seen the hero once.
Amplification costs nothing but a little coordination: ask featured speakers to reshare their own clip, and offer sponsors a co-branded cut they can post to their own audience. Adobe Express’s guidance on teaser campaigns points to this same principle: timing and mystery work best when spread across a sequence rather than dumped into one release.
Repurposing and Measurement: What to Track and What to Reuse
Your teaser footage doesn’t retire after the campaign ends. Recut the same hook shots into a post-event highlight reel, pull individual clips for sponsor thank-you posts, and save the b-roll for next year’s “save the date” announcement, since venue and setup shots rarely go stale.
Three metrics matter more than the rest for a registration-driven teaser:
View-through rate: how many people watch past your hook, a direct signal of whether the first three seconds worked.
Click-through rate to registration: the actual conversion metric, not vanity views.
Registration conversion rate: what percentage of clicks became completed sign-ups.
Entertainment value and clear information both predict higher engagement with livestream content specifically, so if your event includes a livestream component, track teaser-driven viewership as its own line item, not folded into general registrations.
Tag every link with a unique UTM parameter per platform and per teaser stage (hero, mid-campaign, countdown), so you know which cut and which channel actually drove the sign-up, not just that a sign-up happened sometime during the campaign.
Tulipfilms’ Approach to Event Teaser Production
Tulipfilms builds event teasers as part of a full event video workflow, covering pre-production shot lists, on-day multi-camera coverage, and platform-specific edits from a single shoot. That matches the master-then-derive approach covered above: one well-planned capture day, multiple channel-ready cuts.
Recent work spans corporate conferences, trade shows, and branded events across categories, viewable on the Tulipfilms portfolio. Packages run from the Forfait Vidéo Essentiel through the Forfait Vidéo Premium, scaled to how much coverage and turnaround an event needs. Organizers who want a shot list and run-of-show built for them, rather than assembling one from scratch, can start with a consult through the events video service page.
When to DIY vs When to Hire: A Decision Checklist
Hire a professional crew when sponsors expect deliverables, when the event has multiple simultaneous stages or sessions you can’t cover alone, or when a livestream is involved and a dropped shot means a dropped moment forever. Complex live capture punishes a solo operator fast.
DIY works fine for single-session events, internal meetings, or lower-stakes announcements, as long as you hit the minimum standards above: clean audio, a stabilized hook shot, and a legible CTA. A phone, a $30 clip mic, and thirty minutes of editing on a template tool clears that bar.
Budget roughly follows scope. Expect to pay less for a single-camera, single-day shoot and considerably more once you add multi-camera coverage, drone footage, or a tight same-week turnaround, since each of those adds crew time and post-production hours.
— Pieter
Ready to Produce Your Event Teaser?
If you’ve read through the shot lists and audio redundancy rules above and thought “I don’t have time to manage this on top of everything else,” you’re the exact organizer Tulipfilms works with. Instead of assembling a crew, a run sheet, and an editing workflow yourself, Tulipfilms handles pre-production, on-day multi-camera coverage, and platform-ready exports as one package, so your teaser, trailer, and highlight reel all come from a single, well-planned shoot.
[
Packages scale from the Forfait Vidéo Essentiel for a single-session teaser up through the Forfait Vidéo Premium for multi-day conferences with sponsor deliverables and drone coverage, with exact scope and pricing detailed here. Most projects start with a free consult to map your event’s must-capture moments and campaign timeline. Get in touch through the event video production page to check availability for your event date.
Sources
FAQ
How Do I Write a Teaser Script?
Keep it to 5 to 15 words per line, built around one of three patterns: intrigue, benefit, or authority. Write your CTA in second person, present tense, and place it on screen for the final two to three seconds.
Can I Make My Own Event Trailer Without a Crew?
Yes, for lower-stakes, single-session events. A phone with a clip-on mic, a tripod for your hook shot, and a template-based editing tool cover the minimum standard; anything with sponsor obligations or multi-stage coverage usually benefits from hiring a crew like Tulipfilms.
Are There Free Tools to Create a Promotional Video?
Free and freemium template tools exist for short social edits, and they work fine for simple single-camera announcements. For multi-camera event coverage with professional audio redundancy and platform-specific exports, a paid production service delivers more consistent results than a DIY template alone.
What’s the Difference Between a Teaser and a Trailer?
A teaser is short (15 to 30 seconds), withholds most details, and drives one action like registration. A trailer runs longer (60 to 90 seconds) and previews actual event content once curiosity is already established.
Recommended
