Storyboarding Event Videos in 2026: Cut Production Time 30%
- Pieter Nijssen

- Mar 4
- 3 min read

Event video production often falls short because of miscommunication between clients and production teams. You brief the crew, but the final footage misses key moments or doesn’t capture the brand message you envisioned. Storyboarding provides a clear visual roadmap to align everyone before filming starts, turning vague concepts into actionable scene plans. This guide shows you how structured storyboarding techniques enhance communication, streamline workflows, and deliver videos that match your vision.
Table of Contents
Key Takeaways
Point | Details |
Time Savings | Storyboarding cuts event video production time by up to 30% through better planning. |
Prerequisites Matter | Clear event goals, venue details, and chosen tools ensure efficient storyboard creation. |
Iterative Feedback | Regular client review sessions improve satisfaction by 80% and prevent costly revisions. |
Common Pitfalls | Ignoring budget constraints and feedback schedules leads to scope creep and delays. |
Approach Selection | Choose hand-drawn versus digital storyboards based on event complexity and team size. |
Prerequisites and What You Need Before Starting
Before you sketch a single frame, gather the foundational information that shapes your storyboard. Start with your event’s goals and key messages. Are you showcasing a product launch, capturing networking moments, or documenting keynote speeches? Each objective demands different scene priorities.
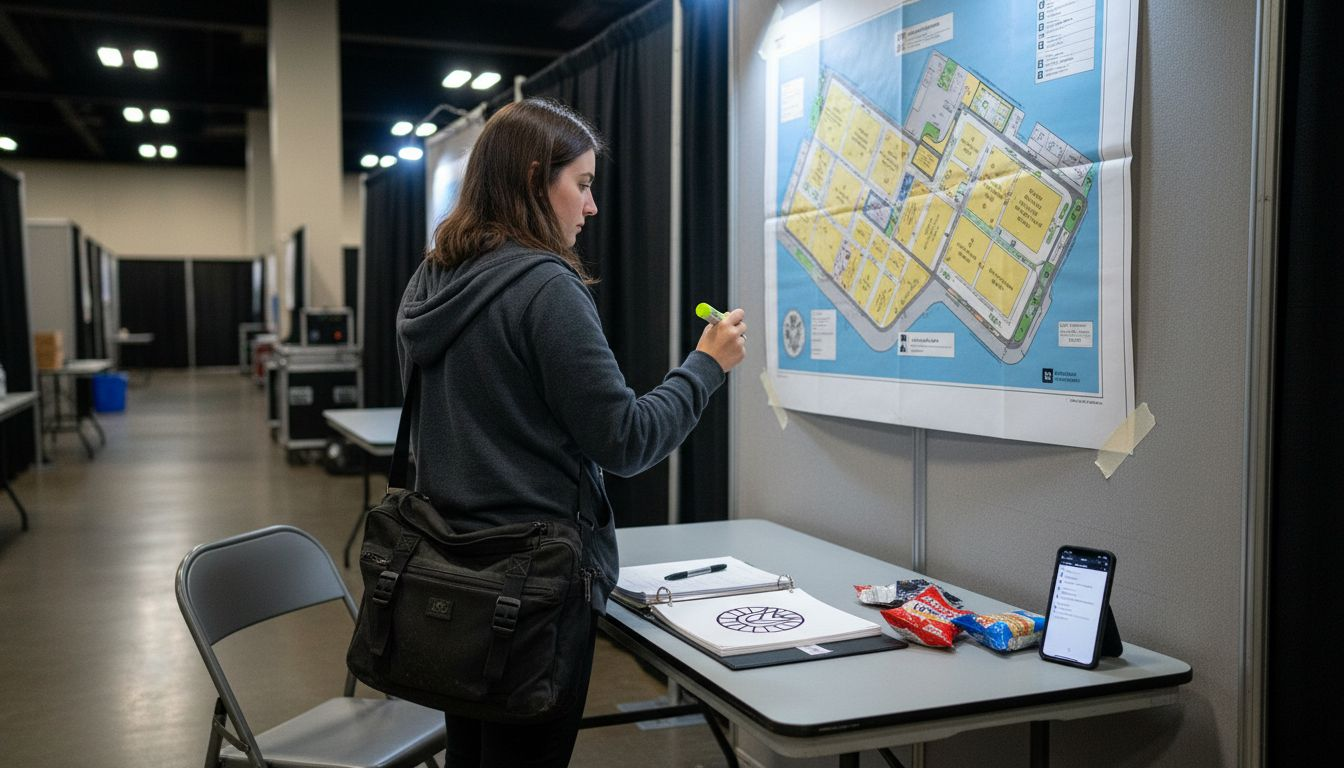
Collect detailed venue information including layout, lighting conditions, and any restricted filming zones. You also need the event schedule, participant lists, and branding guidelines such as color palettes and logo placement rules. This background prevents last-minute surprises during filming.
Choose your storyboarding tools early. Digital software like Storyboarder or Boords offers collaboration features and version control, ideal for multi-stakeholder events. Manual sketch materials work well for quick iterations in smaller projects. Either way, have your chosen tools ready before you begin drafting.
Pro Tip: Create a checklist document that includes all venue specs, brand assets, and contact details for key event stakeholders. Reference this during each storyboard revision to maintain consistency.
Essential items to gather:
Event objectives and target audience profile
Venue blueprints and access restrictions
Complete schedule with critical moments identified
Brand style guides and logo files
Contact list for approval stakeholders
Early preparation reduces misunderstandings later in production. When everyone reviews the same foundational materials, your storyboard becomes a shared reference point rather than a source of confusion.
Step-by-Step Storyboarding Process
After gathering prerequisites, follow this structured approach to build your event video storyboard. Defining key scenes and iterative client feedback form the backbone of effective storyboarding.
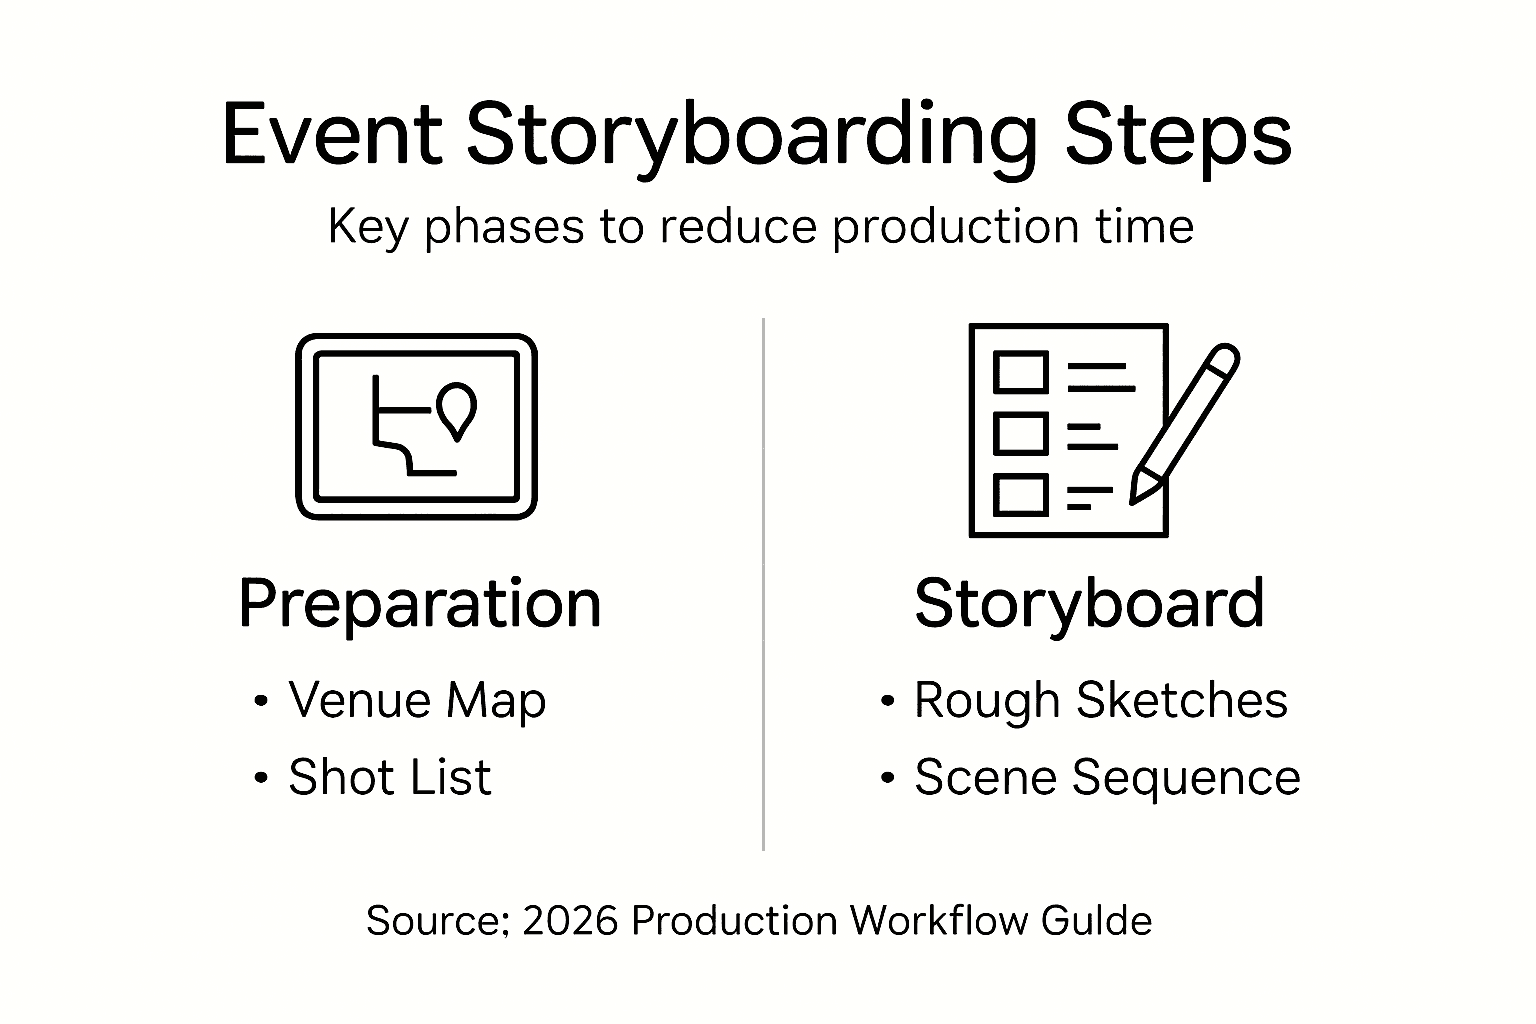
1. Identify key scenes: Start by breaking the event into narrative segments. Typical event videos include an introduction showcasing the venue and branding, main activities like presentations or panels, highlight moments such as award ceremonies, and a closing that reinforces the event message. List these in chronological order.
2. Create initial sketches: Draft rough frames for each identified scene. You don’t need artistic perfection. Simple stick figures and arrows indicating camera movement work fine. The goal is visualizing shot composition, not creating gallery art. Include notes about audio elements like speeches or background music.
3. Schedule feedback sessions: Share your initial storyboard with clients and stakeholders. Set fixed review dates rather than open-ended
Recommended
